Mentors
- Vaibhav Agrawal
- Deepak Verma
Members
- Rohith V
- M Uzzwal Vanshik Reddy
- Shubhang Walavalkar
- Hayden Soares
Acknowledgements
We would like to thank open-source community for providing valuable resources and libraries that made the development process more efficient. Also the MERN stack (MongoDB, Express, React, Node.js) for providing a robust and efficient framework for building this app.
Aim
The aim of this project is to create a user-friendly and feature-rich blog app using the MERN stack (MongoDB, Express, React, Node.js). The app is designed to provide a seamless and enjoyable experience for bloggers and readers alike.
Introduction
In today’s world, blogging has become an essential tool for sharing knowledge, ideas, and experiences with others. To cater to this growing need, we have developed a blog app that provides a seamless platform for bloggers and readers alike. Our app is built using the MERN stack and features user authentication, blog viewing, creation, and commenting, as well as a user-friendly interface.
TECH STACK
Our blog app is built using the MERN stack, which stands for MongoDB, Express, React, and Node.js. This stack combines powerful and popular technologies for developing efficient and scalable web applications. Here’s a closer look at each component of the MERN stack:
-
MongoDB: MongoDB is a NoSQL database that provides a flexible and scalable solution for storing and managing data. It uses a document-oriented model, which allows for easy storage and retrieval of data in JSON-like documents. MongoDB is highly suitable for applications that require high scalability and real-time data updates.
-
Express: Express is a minimal and flexible web application framework for Node.js. It provides a robust set of features for building web applications and APIs. Express simplifies routing, middleware implementation, and request handling, making it an ideal choice for developing the backend of our blog app.
-
React: React is a popular JavaScript library for building user interfaces. It enables the creation of interactive and reusable UI components that efficiently update and render based on changes in data. React follows a component-based architecture, allowing for modular development and enhancing code reusability. With React, we can create a dynamic and responsive user interface for our blog app.
-
Node.js: Node.js is a server-side JavaScript runtime environment built on Chrome’s V8 JavaScript engine. It allows us to run JavaScript code outside of a web browser, making it ideal for server-side development. Node.js provides an event-driven, non-blocking I/O model, which results in high-performance and scalable server-side applications. It also offers a vast ecosystem of modules and libraries that facilitate rapid development.
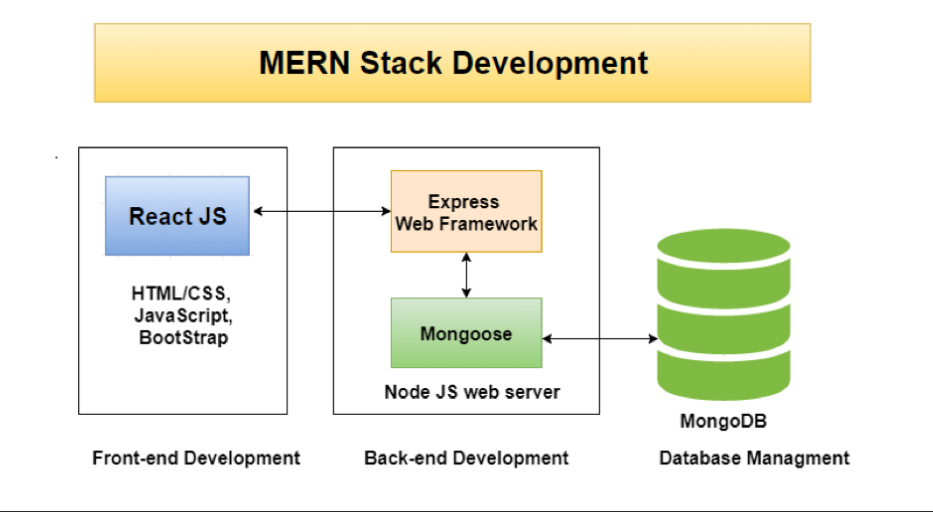
By leveraging the MERN stack, we can create a full-stack web application that is efficient, scalable, and capable of handling complex functionalities. The combination of MongoDB for data storage, Express for server-side development, React for dynamic user interfaces, and Node.js as the runtime environment provides a robust foundation for our blog app.
Authentication
Authentication is a crucial aspect of any web application, including our blog app. It ensures that only authorized users can access certain features and protects sensitive user data. In our app, we have implemented user authentication using JSON Web Tokens (JWTs) and cookies.
Json Web Tokens (JWTs)
JWTs are a widely used industry standard for securely transmitting information between parties as a JSON object. They are digitally signed and can be encrypted, providing a secure way to authenticate and authorize users. In our blog app, JWTs are used to authenticate users during the login process and verify their identity for subsequent requests.
Here’s an overview of how JWT authentication works in our app:
-
User Registration: When a user registers, their credentials (such as username and password) are securely stored in our database, preferably after hashing the password for added security.
-
User Login: When a user logs in, their credentials are verified against the stored information. If the credentials are valid, a JWT is generated for that user.
-
JWT Generation: The server generates a JWT containing a payload that typically includes the user’s unique identifier and any additional relevant information. The JWT is signed using a secret key known only to the server.
-
JWT Response: The generated JWT is sent back to the client as part of the response, typically in an HTTP header or a JSON object.
- Subsequent Requests: For every subsequent request that requires authentication, the client includes the JWT in the request headers. The server then verifies the JWT’s signature and decodes the payload to authenticate the user.
Cookies
Cookies are small pieces of data that are stored on the user’s browser. In our app, we utilize cookies to store the JWT securely on the client-side. Here’s how cookies are used for authentication:
-
Set Cookie: After generating the JWT, the server sets the JWT as a secure HTTP-only cookie in the response headers. The secure attribute ensures that the cookie is only transmitted over HTTPS, while the HTTP-only attribute prevents client-side JavaScript from accessing the cookie.
-
Cookie Persistence: The cookie is typically set with an expiration time, allowing it to persist on the client-side for a certain duration. This ensures that the user remains authenticated during subsequent requests within the cookie’s validity period.
- Cookie Authentication: For each subsequent request, the client automatically includes the cookie in the request headers. The server verifies the JWT contained within the cookie to authenticate the user and grants access to protected resources if the authentication is successful.
By utilizing JWTs for authentication and securely storing them in cookies, we ensure a robust and secure authentication mechanism for our blog app. This approach allows users to securely login, maintain their authentication status during subsequent requests, and access protected features and resources.
Blog Viewing and Pagination
In our blog app, we have implemented a robust blog viewing and pagination system to enhance the user experience and make it easier to navigate through a large number of blog posts. This functionality allows users to browse and access blogs efficiently.
Here’s how blog viewing and pagination work in our app:
-
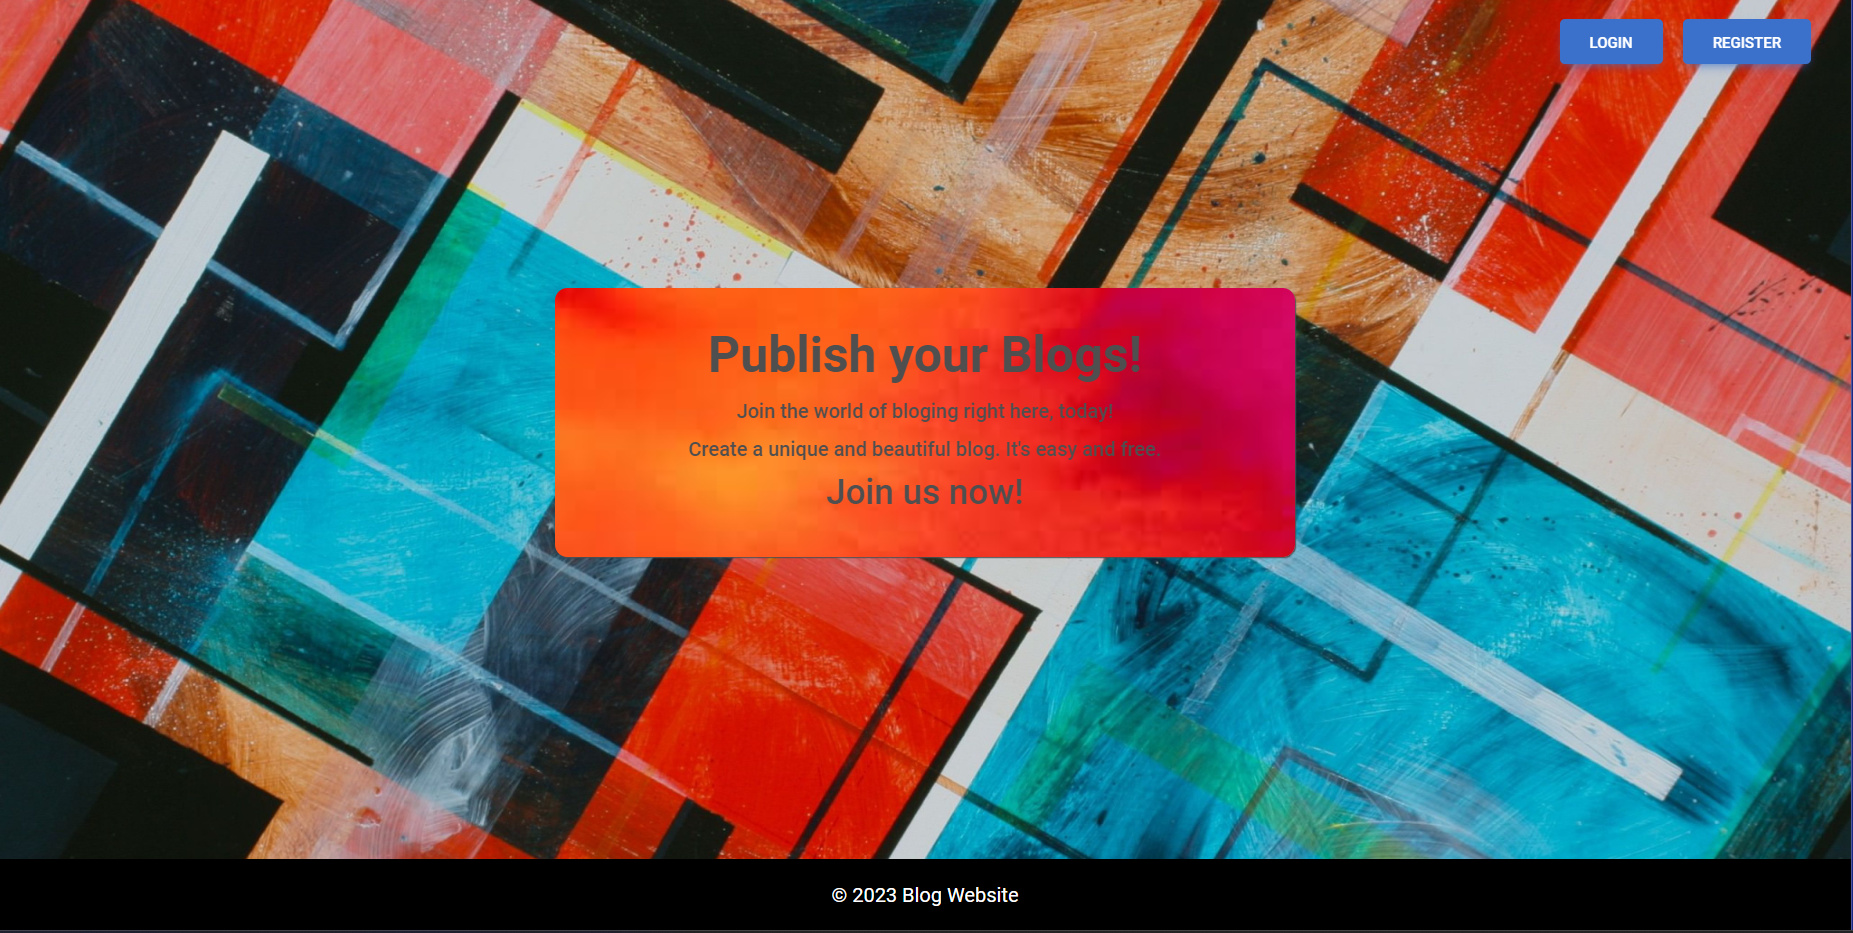
Displaying Blogs on the Homepage: The homepage of our app serves as a central hub where users can view all the blogs, regardless of whether they are their own or others’. The blogs are presented in a visually appealing and organized manner, providing users with an overview of the available content.
-
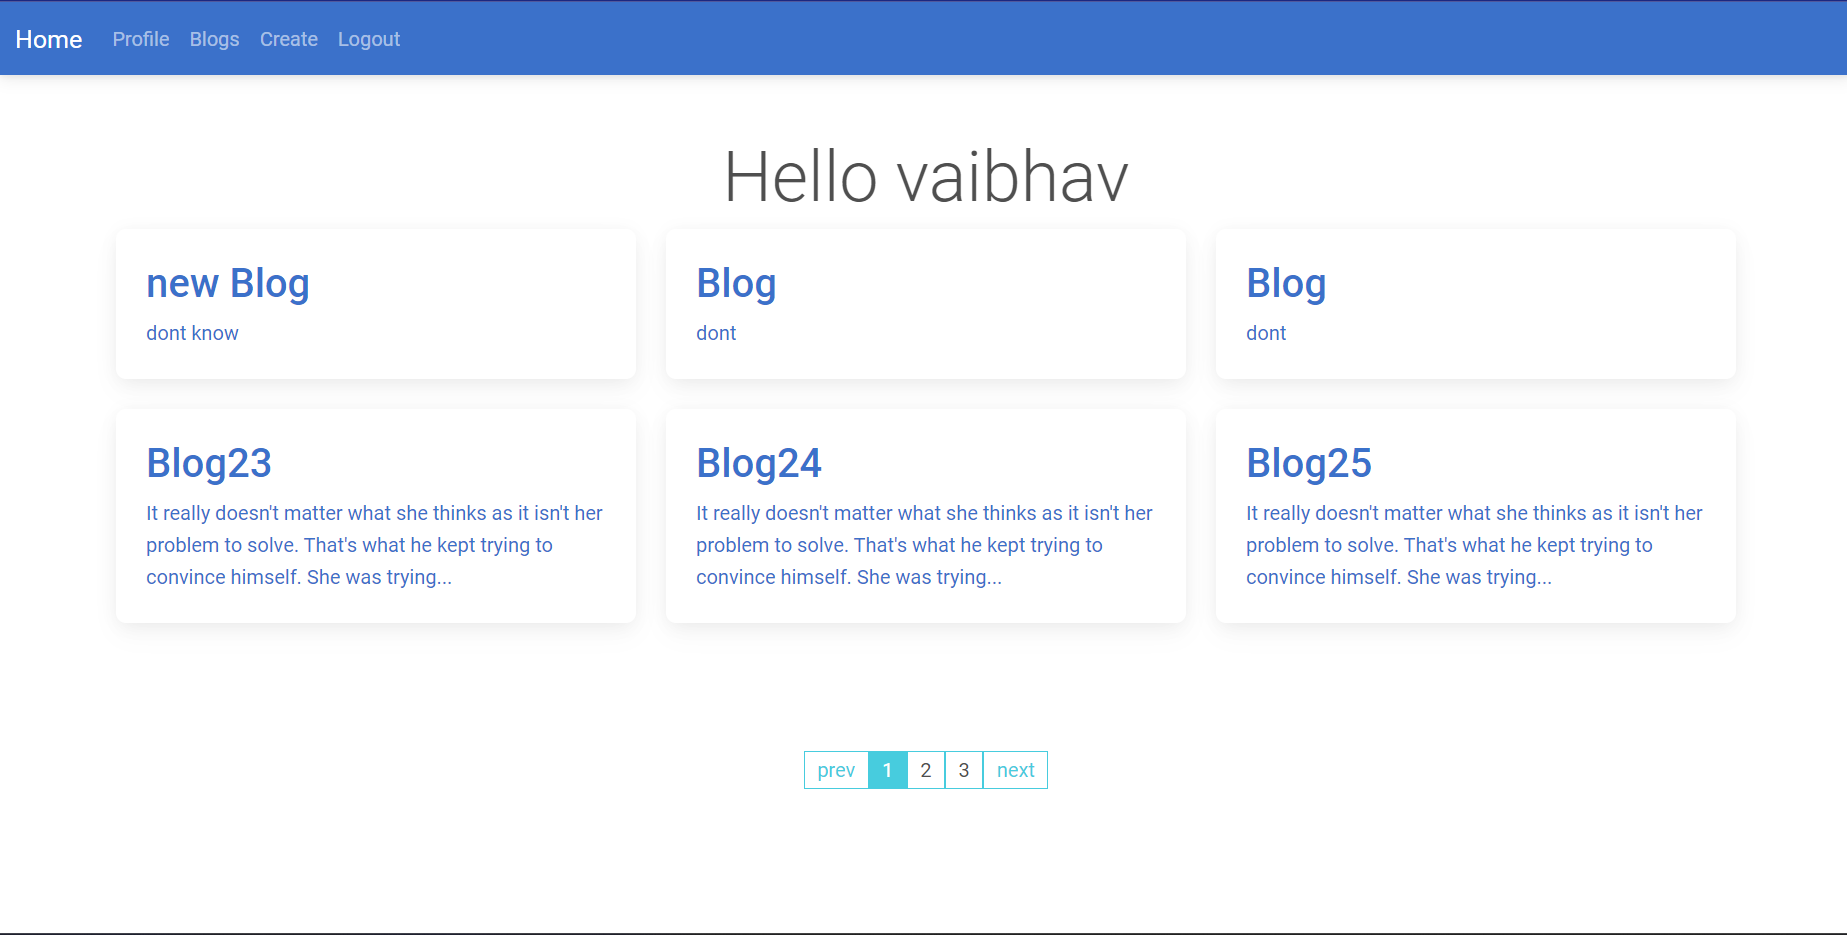
Pagination for Efficient Loading: To avoid overwhelming the user with a long list of blogs, we implement pagination. Pagination divides the blog posts into manageable chunks or pages, typically displaying a certain number of blogs per page. This approach ensures that the blog posts are loaded and displayed in a more efficient manner, reducing the loading time and improving the overall performance of the app.
-
Navigation Controls: To assist users in navigating through the paginated blogs, we provide navigation controls such as “Previous” and “Next” buttons or an infinite scrolling feature. These controls enable users to move back and forth between pages or load additional blogs without disruptions.
-
Responsive Design: Our blog viewing and pagination system is designed to be responsive, ensuring that it works seamlessly across different devices and screen sizes. Whether users access the app from a desktop, tablet, or smartphone, they will have a consistent and user-friendly experience.
By implementing blog viewing and pagination in our app, we provide users with an efficient and user-friendly way to browse through a collection of blogs. The use of spinner pagination enhances the browsing experience, allowing for continuous scrolling and dynamic loading of additional blog posts. This ensures that users can easily explore and discover relevant content without any inconvenience.
Blog Creation
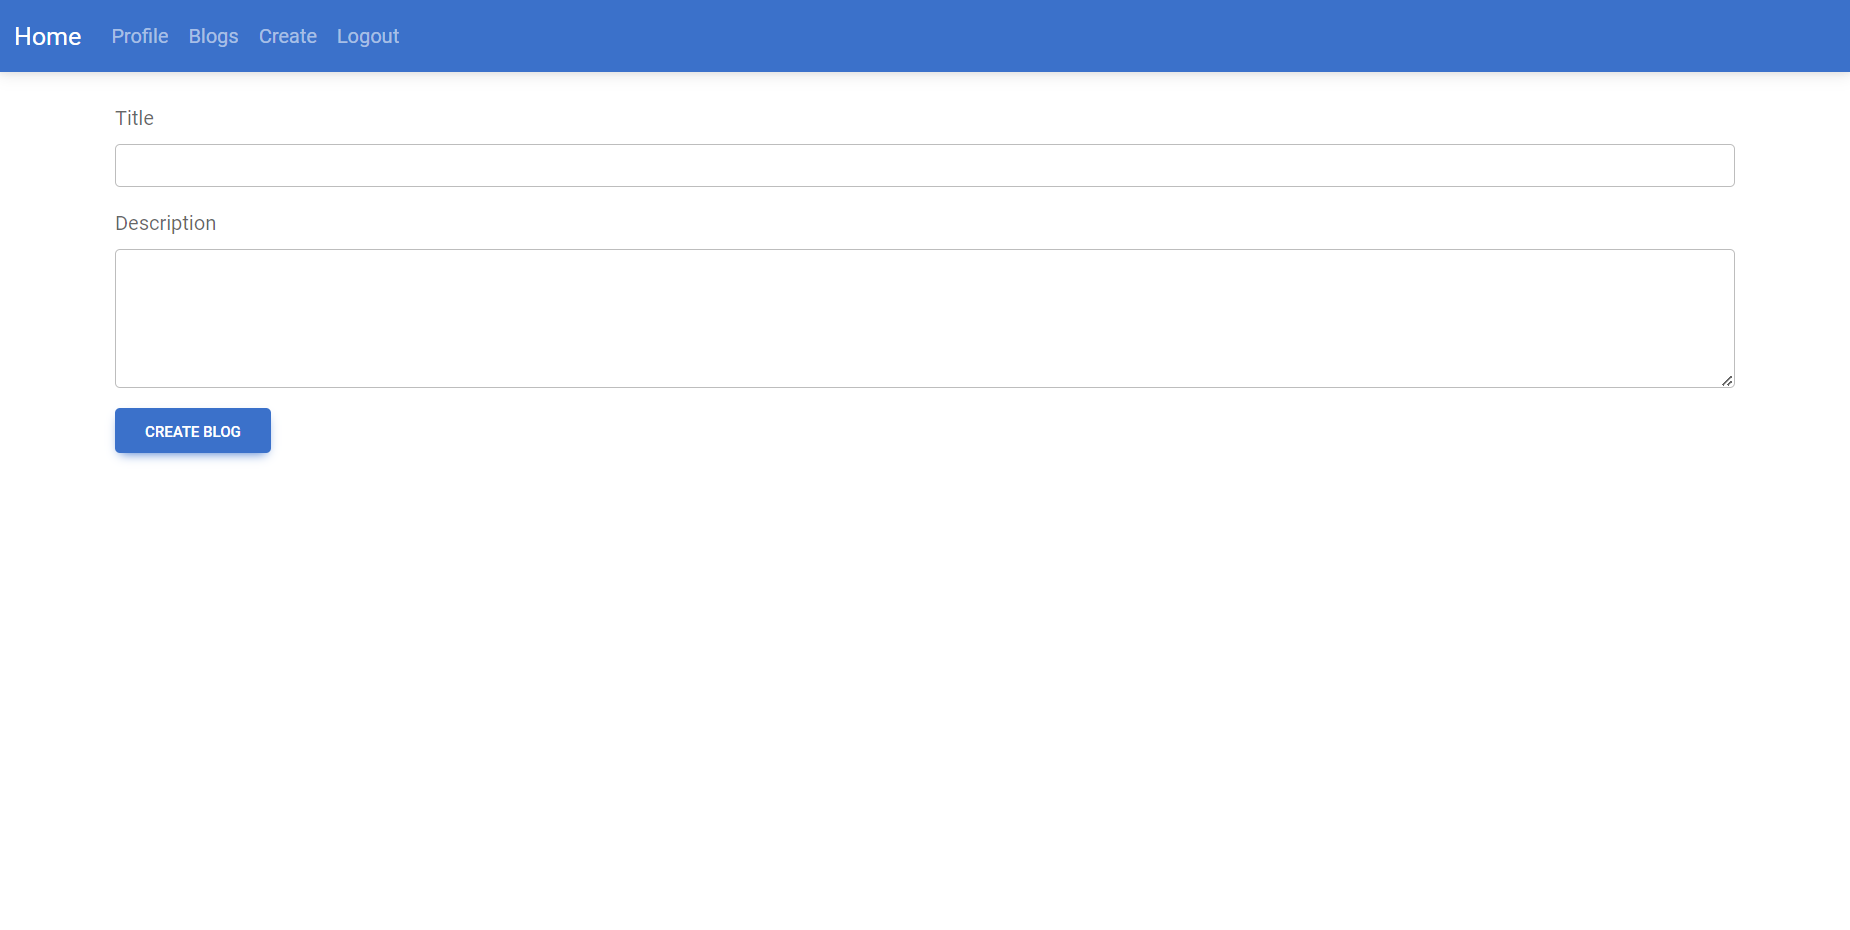
In our blog app, we have simplified the blog creation process to focus on the essential elements: title and description. This streamlined approach allows users to quickly and easily create and publish their blogs. Here’s how the blog creation process works:
-
Accessing the Blog Creation Page: Users can access the blog creation page by clicking on a “Create Blog” button or navigating to a dedicated page specifically designed for blog creation.
-
Entering Title and Description: On the blog creation page, users are presented with input fields to enter the title and description of their blog. The title field is used to provide a concise and attention-grabbing headline for the blog post. The description field allows users to provide a brief overview or teaser of the blog content.
-
Submitting the Blog: Once users have entered the title and description, they can submit the blog by clicking a “Submit” or “Publish” button. This action triggers the creation of the blog post and makes it available for viewing by other users.
-
Blog Publication: After the blog is submitted, it is published on the platform, becoming accessible to all users. The blog is typically added to the list of blogs on the homepage or displayed in a designated section for recent posts.
-
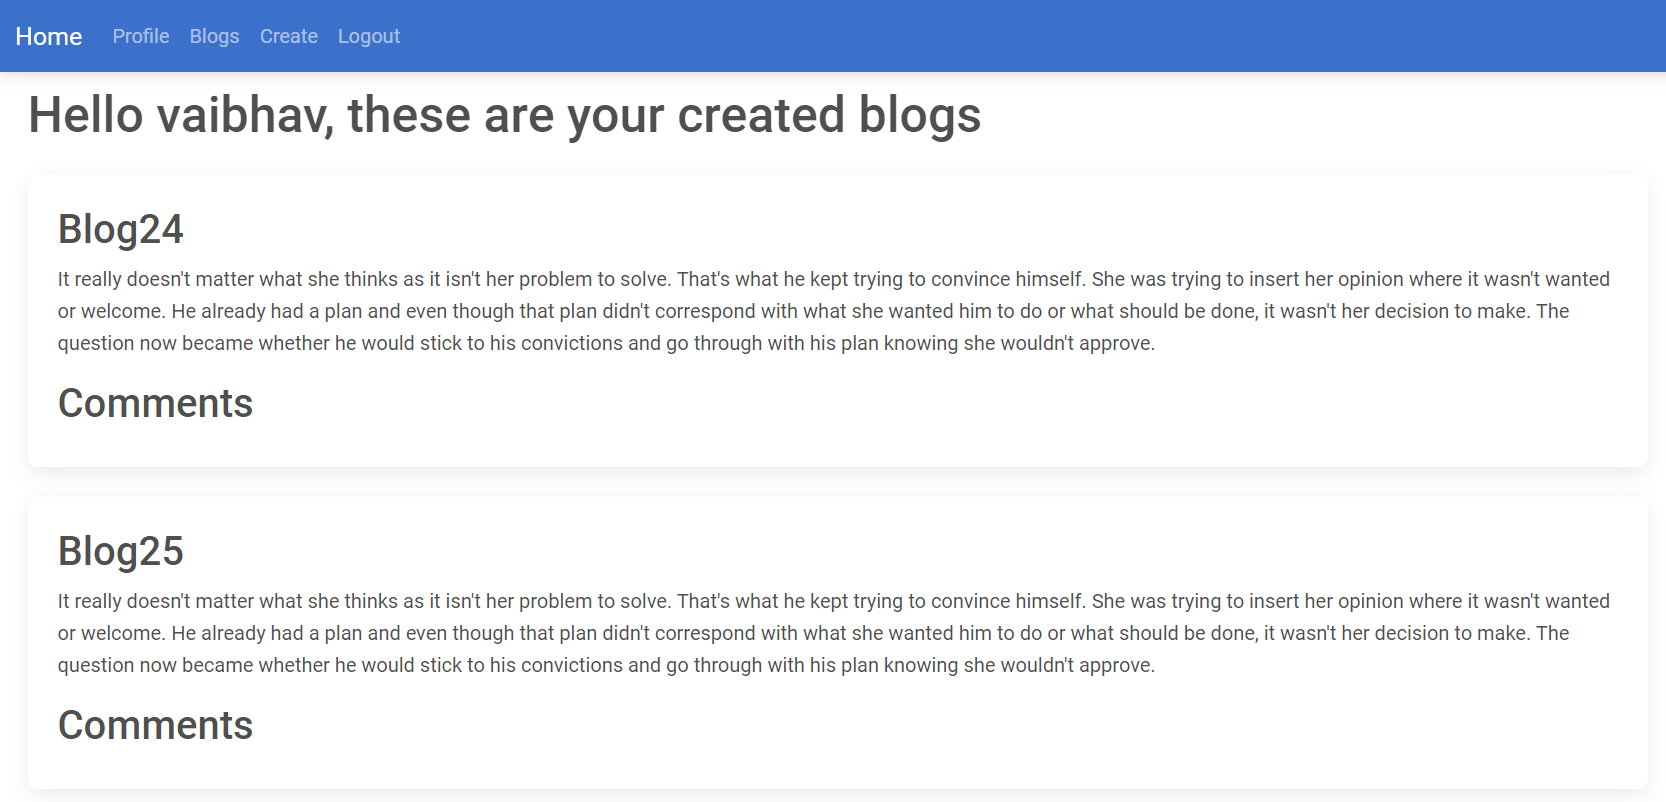
Editing and Deleting Blogs: To provide users with flexibility, we also offer options for editing and deleting blogs. Users can access their created blogs through their profile or dashboard and make edits to the title or description as desired. Additionally, users can choose to delete their blogs if they no longer wish to have them available on the platform.
Our simplified blog creation process focuses on the core components of a blog post: the title and description. By removing additional complexities, we aim to provide a streamlined and user-friendly experience for users to quickly share their ideas and engage with the blogging community.
Commenting
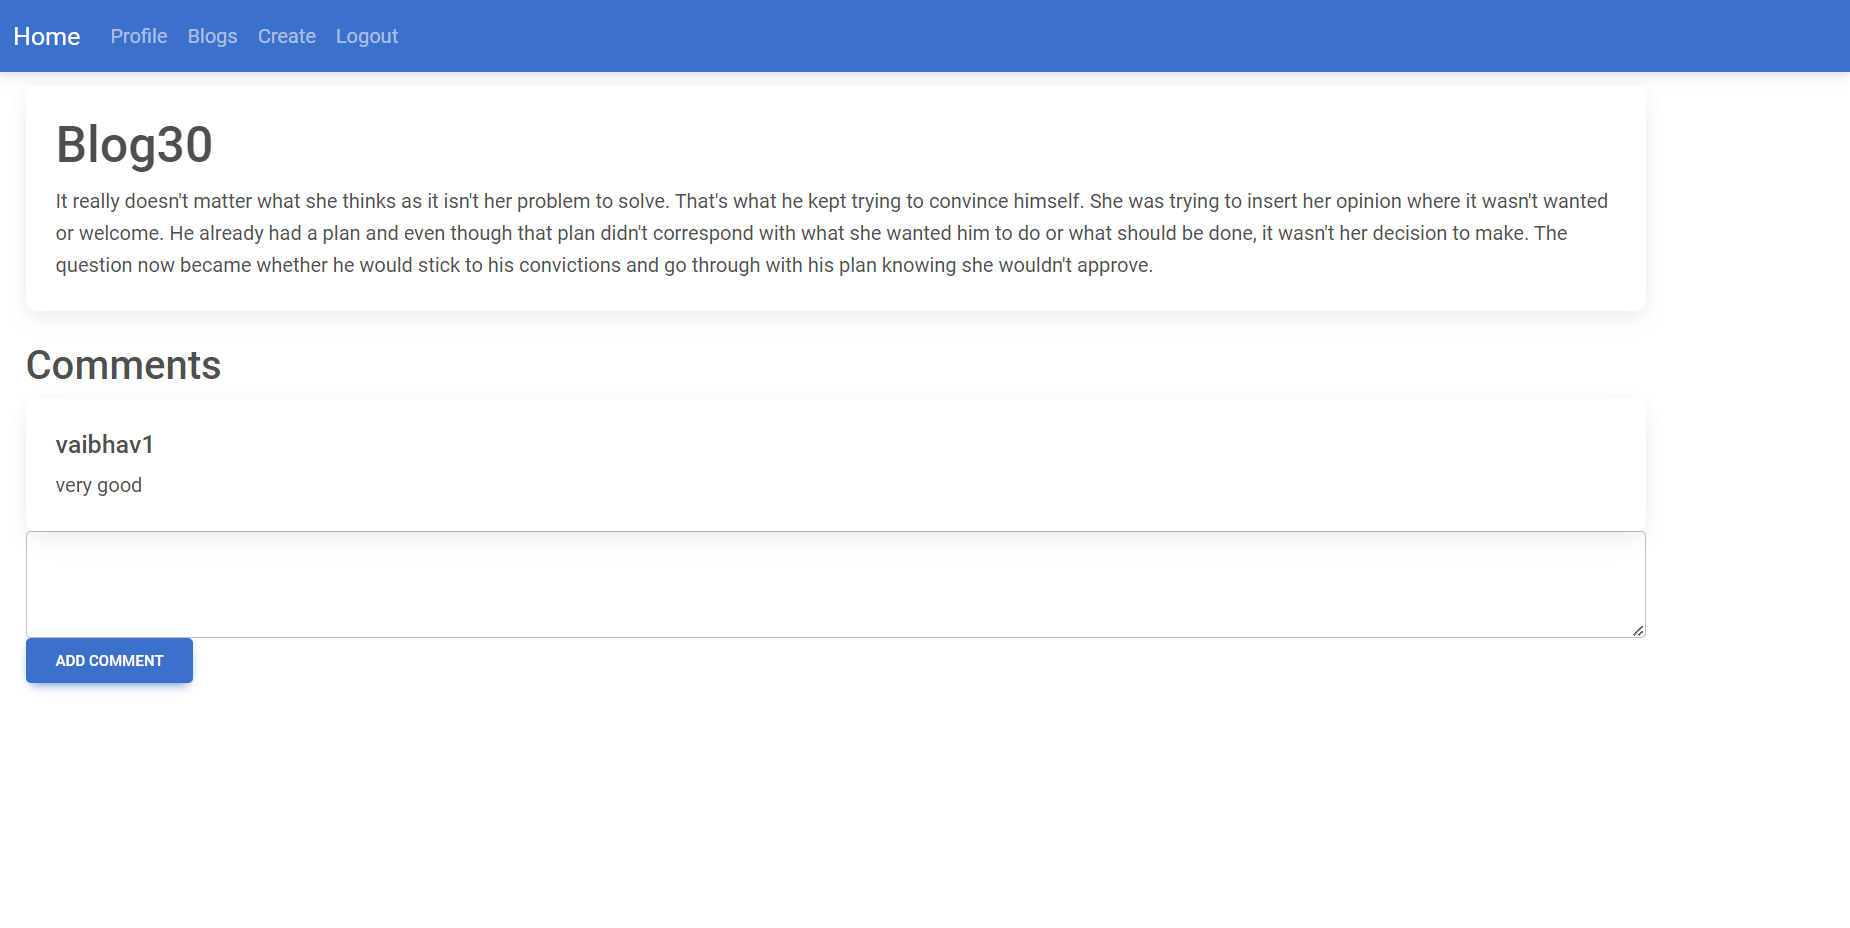
In our blog app, we have implemented a commenting system that allows users to engage in discussions and provide feedback on blog posts. This feature enables users to interact with the content and share their thoughts with the blog’s author and other readers. Here’s how commenting works in our app:
-
Viewing Blog Comments: When users navigate to a blog post, they can view existing comments related to that post. The comments are typically displayed below the blog content, allowing users to read through them and get insights from other readers.
- Adding a Comment: To contribute to the discussion, users can add their own comments. We provide a comment input field or text area where users can type their comments. Users can enter their thoughts, opinions, questions, or any relevant information they wish to share.
-
Submitting a Comment: After users have written their comment, they can submit it by clicking a “Submit” button. This action saves the comment and associates it with the specific blog post.
- Comment Visibility: Once a comment is submitted, it becomes visible to other users who visit the blog post. This fosters engagement and encourages further discussions among the readers. Users can read, respond to, and interact with the comments left by others.
By incorporating a commenting system into our blog app, we encourage user engagement and create a sense of community around the blog posts. Users can actively participate in discussions, share their perspectives, and provide valuable feedback to both authors and other readers.
User Profile
In our blog app, we provide users with a dedicated profile page where they can access and manage their personal information. The profile page offers a convenient and centralized location for users to view their details.
Conclusion
In conclusion, our blog app built using the MERN stack has successfully achieved its objectives of providing users with a platform to share, explore, and engage with blog content. Throughout the development process, we have implemented key features such as user authentication, blog viewing with pagination, blog creation, commenting, and user profiles. These features have enhanced the functionality, usability, and overall user experience of the app.
Overall, our blog app offers a user-friendly, secure, and engaging platform for individuals to connect, express themselves, and interact with blog content. Through the use of modern web technologies and thoughtful implementation of features, we have created an application that meets the needs of both blog authors and readers.
As we continue to enhance and refine the app, we aim to expand its capabilities, such as incorporating additional features like search functionality, social sharing, and user interactions. We are committed to providing a seamless and enriching experience for our users, fostering a vibrant blogging community within our app.