While learning a programming language, there’s often a question of how simple problem solving using code is going to help us create software we see around us. The fact is that software engineering requires a lot more skills as a programmer. And a good first step to creating software is to learn how to create graphical user interfaces, commonly referred to as GUIs. In this article, we’ll learn how to get started with creating GUIs in C using a toolkit known as GTK+.
What are GUIs?
According to Wikipedia, the graphical user interface, is a type of user interface that allows users to interact with electronic devices through graphical icons and visual indicators such as secondary notation, instead of text-based user interfaces, typed command labels or text navigation. GUIs are one way to make programs interactive. Almost every program we use has a GUI. Having one makes a program easier to understand for users.
What are GUIs? : Graphical User Interface (GUI) vs Command Line Interface (CLI)
Introduction to GTK+
GTK+ or GIMP Toolkit is a toolkit for creating GUIs using widgets. Initially, development of GTK+ was started for use with the GIMP image manipulation program. Later, the toolkit was expanded for use with other software as well. It’s currently one of the best toolkits for creating GUIs in C. And since it’s free software, it can be freely used and softwares created using GTK+ can be freely distributed. GTK+ is based upon four libraries - GLib, Pango, Cairo and ATK. Each user interface created using GTK+ consists of widgets, since GTK+ is essentially a set of widgets.
Getting Started with GTK+
Installing GTK+
Open up terminal and type the following command in. Enter your password when asked for.
archit@archit-len-510s ~ $ sudo apt-get install build-essential libgtk-3-dev
Once you have these packages installed, it’s time to start coding and creating our first GTK+ application.
Hello, world
We wish to create a simple program which opens up in a window, displays a button which says “Hello, world” and closes the window when clicked. This we shall achieve using the given code.
Open up a text-editor and copy the following code into it, and save it as helloworld.c.
#include <gtk/gtk.h>

static void print_hello (GtkWidget *widget, gpointer data)
{
  g_print ("Hello World\n");
}

static void activate (GtkApplication *app, gpointer user_data)
{
  GtkWidget *window;
  GtkWidget *button;
  GtkWidget *button_box;

  window = gtk_application_window_new (app);
  gtk_window_set_title (GTK_WINDOW (window), "Window");
  gtk_window_set_default_size (GTK_WINDOW (window), 200, 200);

  button_box = gtk_button_box_new (GTK_ORIENTATION_HORIZONTAL);
  gtk_container_add (GTK_CONTAINER (window), button_box);

  button = gtk_button_new_with_label ("Hello World");
  g_signal_connect (button, "clicked", G_CALLBACK (print_hello), NULL);
  g_signal_connect_swapped (button, "clicked", G_CALLBACK(gtk_widget_destroy), window);
  gtk_container_add (GTK_CONTAINER (button_box), button);

  gtk_widget_show_all (window);
}

int main (int argc, char **argv)
{
  GtkApplication *app;
  int status;

  app = gtk_application_new ("org.gtk.example", G_APPLICATION_FLAGS_NONE);
  g_signal_connect (app, "activate", G_CALLBACK (activate), NULL);
  status = g_application_run (G_APPLICATION (app), argc, argv);
  g_object_unref (app);

  return status;
}
Now, in order to compile the code, we need to tell the compiler where to find the GTK+ header files and libraries. This is done with the pkg-config utility.
The following code demonstrates how pkg-config is used.
archit@archit-len-510s ~ $ pkg-config --cflags gtk+-3.0 -pthread
-I/usr/include/gtk-3.0 -I/usr/lib64/gtk-3.0/include -I/usr/include/atk-1.0
-I/usr/include/cairo -I/usr/include/pango-1.0 -I/usr/include/glib-2.0
-I/usr/lib64/glib-2.0/include -I/usr/include/pixman-1 -I/usr/include/freetype2
-I/usr/include/libpng12

archit@archit-len-510s ~ $ pkg-config --libs gtk+-3.0 -pthread -lgtk-3 -lgdk-3
-latk-1.0 -lgio-2.0 -lpangoft2-1.0 -lgdk_pixbuf-2.0 -lpangocairo-1.0
-lcairo -lpango-1.0 -lfreetype -lfontconfig -lgobject-2.0 -lgmodule-2.0
-lgthread-2.0 -lrt -lglib-2.0
Now we are ready to compile our first program.
archit@archit-len-510s ~ $ gcc `pkg-config --cflags gtk+-3.0` -o
helloworld helloworld.c `pkg-config --libs gtk+-3.0`
Now the program can be run using the command,
archit@archit-lev-510s ~ $ ./helloworld
Understanding the program
GTK+ uses layouts to store the UI elements. First we create a widget for window using gtk_application_window_new(app). Then in order to store the button, a button_box is used. GtkButtonBox is created for this purpose. This newly created button box is then added to the window widget. The button itself is then inialized using gtk_button_new_with_label() which returns a GtkButton to be stored inside button. Later button is added to button_box. Next we need to add functionality to close the app once the button is clicked. This is achieved using g_signal_connect() which is connected to button. After connecting print_hello(), another signal is connected to “clicked” state of the button. This calls the gtk_widget_destroy() and takes window as parameter. This destroys the window when the button is clicked. This completes the functionality we require for our simple applcation.
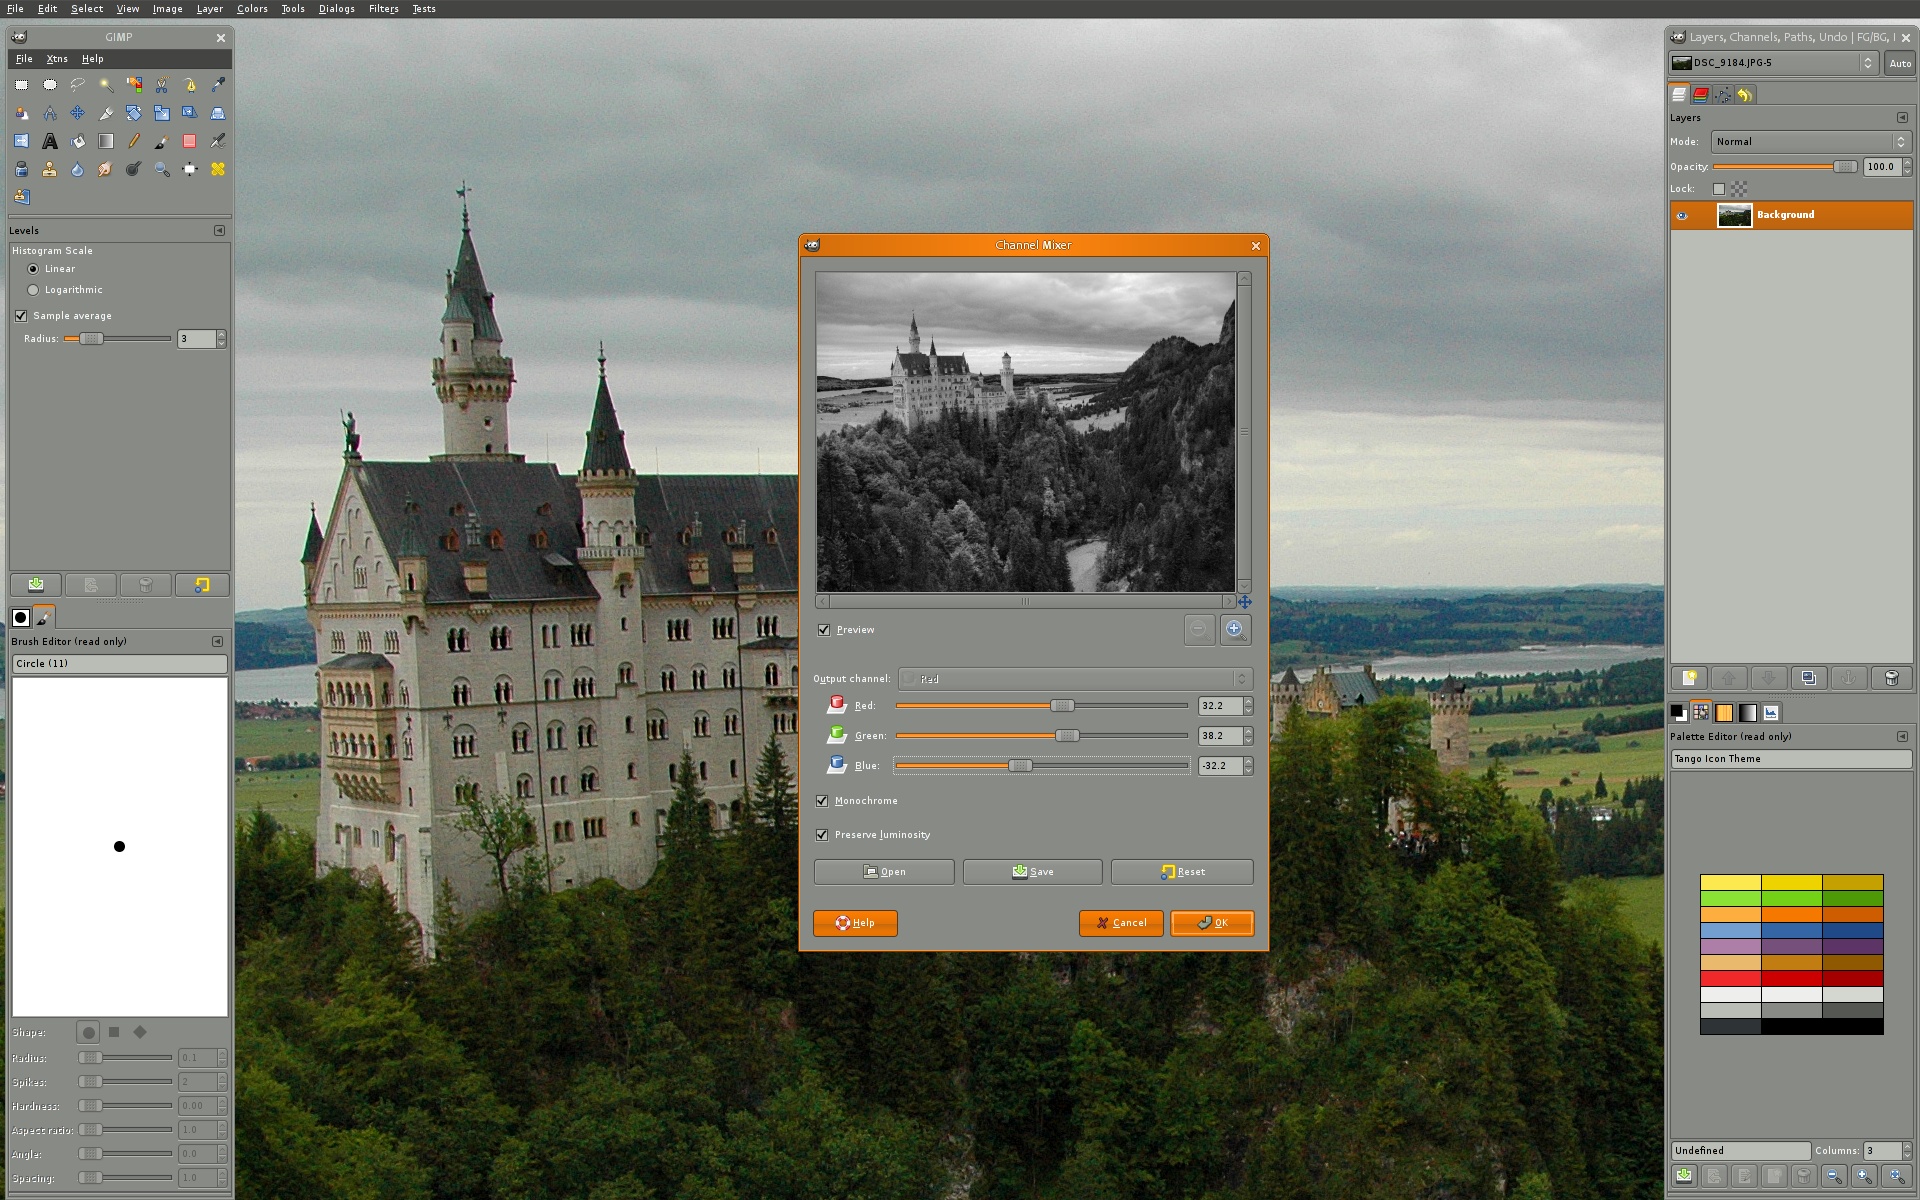
Going Forward : GIMP - a popular Linux program made using GTK+
Going Forward
We just created a simple program using GTK+. This has taught us how to respond to clicks and perform a function. And also that the basis for all UIs is a simple widget based structure. Understanding these two things can help us create usable programs. GTK+ is the toolkit used to code all of Ubuntu’s GUI and most programs used on Linux and Windows. Hence it’s capabilities shouldn’t be underestimated. Learning the toolkit, can equip us to create complex UIs such as those seen on popular applications.